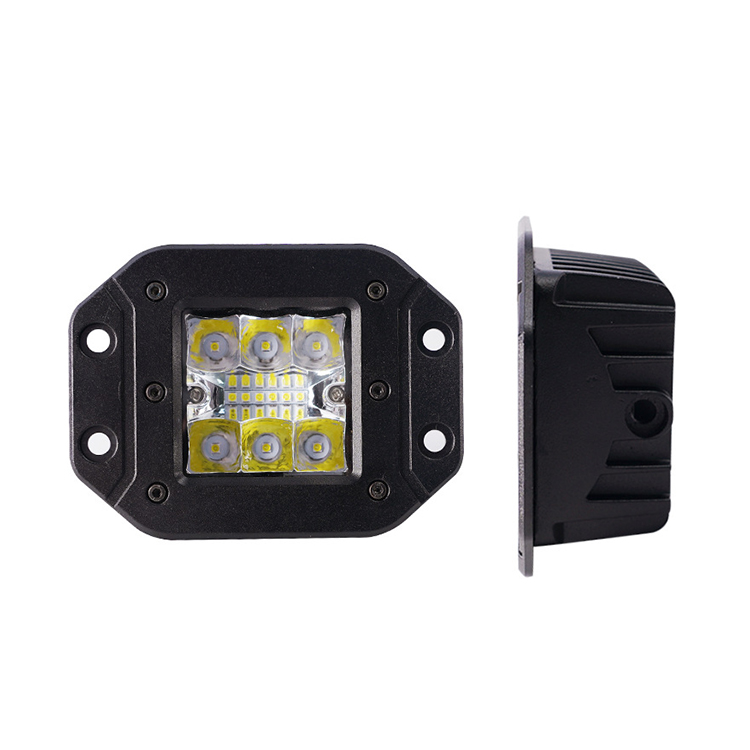
Installing LED vehicle lights is an effective way to improve visibility, enhance vehicle aesthetics, and increase road safety. However, for effectiveness, installation must be done carefully and in accordance with vehicle electrical standards and local regulations. Here's a practical guide to help ensure your LED lighting upgrade delivers both performance and safety.

1. Select the Right LED Lights
Choose LED lights rated for your specific vehicle type and purpose—whether for headlights, tail lights, brake lights, or auxiliary driving lights. Verify their compatibility with your vehicle's voltage system (usually 12V or 24V).
2. Gather Necessary Tools and Supplies
Common tools include screwdrivers, wire strippers, soldering iron or connectors, heat shrink tubing, mounting brackets, and zip ties. A multimeter is also helpful for checking voltage and connections.
3. Disconnect the Battery
Before starting any electrical work, disconnect the vehicle's battery to prevent accidental shorts or shocks.
4. Install Mounts and Secure Wiring
Secure the LED units in manufacturer-approved mounting locations. For safety, avoid loose wiring. Use heat shrink tubing and zip ties to keep wires tidy and protected from friction or exposure to elements.
5. Use Relays and Fuses Where Needed
Relays prevent overloads on switches, and inline fuses protect the circuit in case of a short. They're especially important for high-power LED light bars or driving lights.
Underglow lights for motorcycles are LED lighting systems installed beneath the frame or along the underside of the body to create a glowing effect on the road surface below. While primarily aesthetic, they can also increase nighttime visibility when installed and used properly.
These lighting systems work by emitting light in various colors and patterns, depending on the type of LEDs used. Many underglow lights for motorcycles are made from flexible LED strips that are waterproof, shock-resistant, and housed in protective sleeves. The strips are mounted to the underside of the motorcycle frame using brackets or adhesive pads.
Each LED strip is connected to a central controller, which can be wired into the motorcycle's battery or power system. Many kits come with wireless remotes or Bluetooth modules that allow riders to control brightness, color, and lighting modes via a smartphone app.
The glow effect is visible primarily at night or in low-light conditions and varies based on ground clearance and ambient light. Although the lights don't illuminate the road like headlights, they make the bike more noticeable to other drivers.
Driving lights on trucks provide essential forward illumination during night travel, in adverse weather, or on rural roads where visibility is limited. Regular maintenance ensures these lights remain effective, reliable, and compliant with safety standards. Below is a comprehensive checklist for maintaining driving lights for trucks:
1. Inspect Light Housings
Check that housings are intact with no cracks, fogging, or moisture intrusion. Damaged lenses can reduce light output and allow water into the unit, potentially damaging electronics.
2. Test Light Functionality
Turn on the lights and observe their brightness, alignment, and consistency. Flickering or dimming may indicate a wiring issue or dying LED elements.
3. Clean Lenses
Use non-abrasive cleaners to remove road grime, dust, and bugs from lenses. Clean lenses allow more light to pass through and improve beam clarity.
4. Check Mounting Brackets
Ensure all mounting points and hardware are secure. Loose brackets can cause misalignment, vibration damage, or road hazard risks.
5. Examine Wiring and Connections
Look for signs of wear, corrosion, or damage along wiring paths. Replace frayed wires and tighten any loose connectors. Waterproof connectors are recommended for durability.