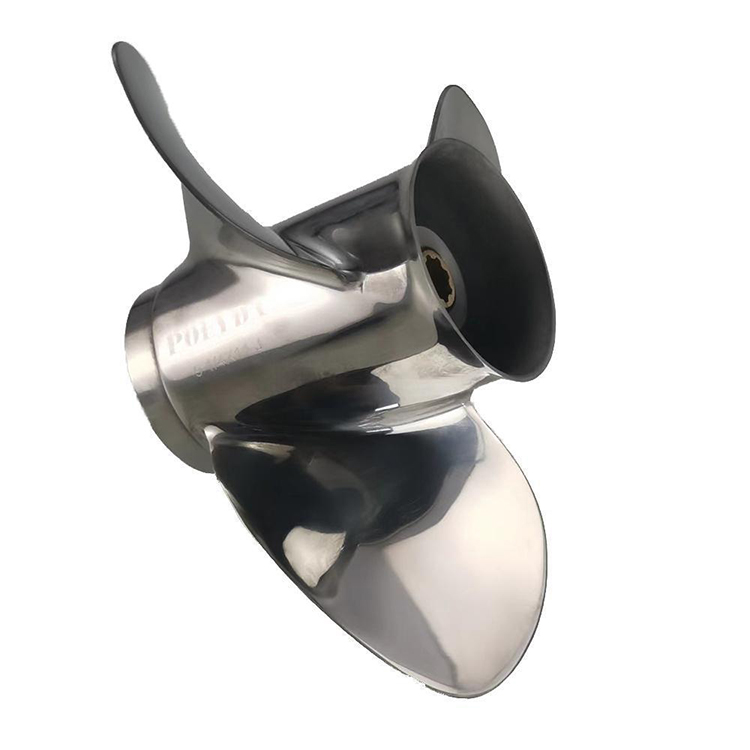
When it comes to the maintenance and upkeep of your boat, one of the critical components to consider is the outboard propeller. This essential part can significantly impact the performance, fuel efficiency, and overall safety of your vessel. But how do you know when it's time to replace your outboard propeller?

Identifying the Need for Replacement
Before we can discuss how to replace an outboard propeller, it's crucial to understand when you should consider doing so. Here are some signs that your outboard propeller may need to be replaced:
1. Performance Decline: If you notice a decrease in your boat's speed or maneuverability, this could be an indication that your propeller is not functioning .
2. Unusual Noises: Rattling or grinding noises from the engine may suggest damage to the outboard propeller.
3. Vibration: Excessive vibration while operating your boat could be a sign of a worn or damaged outboard propeller.
4. Corrosion: Check for rust or other signs of corrosion, which can weaken the structure of the outboard propeller over time.
Preparing for the Replacement
Once you've determined that your outboard propeller needs to be replaced, the next step is to prepare for the process. Here are some key points to consider:
1. Gather Necessary Tools: You'll need a set of wrenches, a socket set, and possibly a propeller puller to remove the old propeller.
2. Choose the Right Propeller: Select a new outboard propeller that matches the specifications of your boat and engine.
3. Safety Precautions: Ensure that the boat is secure and that you have appropriate safety gear, such as gloves and safety glasses.
The Replacement Process
Now that you're prepared, let's walk through the steps to replace your outboard propeller:
1. Remove the Boat from the Water: It's generally easier and safer to replace the propeller when the boat is out of the water.
2. Locate the Propeller Nut: The propeller nut secures the outboard propeller to the shaft.
3. Loosen the Nut: Using the appropriate wrench or socket, loosen the propeller nut. Be careful not to cross-thread or strip the nut.
4. Remove the Old Propeller: Once the nut is loose, carefully remove the old outboard propeller from the shaft.
5. Inspect the Shaft: Before installing the new propeller, inspect the shaft for any signs of damage or wear.
6. Install the New Propeller: Align the new outboard propeller with the shaft and gently push it into place.
7. Tighten the Propeller Nut: Use the wrench or socket to tighten the propeller nut. Ensure it's secure but avoid over-tightening, which can cause damage.
8. Reinstall the Boat in the Water: Once the new outboard propeller is installed, you can place the boat back into the water.
Post-Replacement Checks
After you've successfully replaced your outboard propeller, it's important to perform a few checks to ensure everything is in working order:
1. Test the Propeller: Start the engine and let it idle to check for any unusual noises or vibrations.
2. Check for Leaks: Inspect the area around the propeller shaft for any signs of water leakage.
3. Monitor Performance: Take the boat out for a short trip to ensure that the engine is running smoothly and that the boat is responding well to your commands.
Maintenance and Longevity
To get the more out of your new outboard propeller and extend its lifespan, consider the following maintenance tips:
1. Regular Inspections:check your outboard propeller for signs of wear, damage, or corrosion.
2. Proper Storage: When not in use, store your boat in a way that minimizes the risk of damage to the propeller.
3. Use Protective Covers: Consider using a protective cover for the outboard propeller when the boat is not in use.
4. Avoid Debris: Be mindful of debris in the water and avoid running over objects that could damage the propeller.