
 English
 русский
 عربى
عربى
Industry News
Home / News / Industry News / What Are the Key Steps in Installing a DC Motor Controller for an Electric Vehicle?

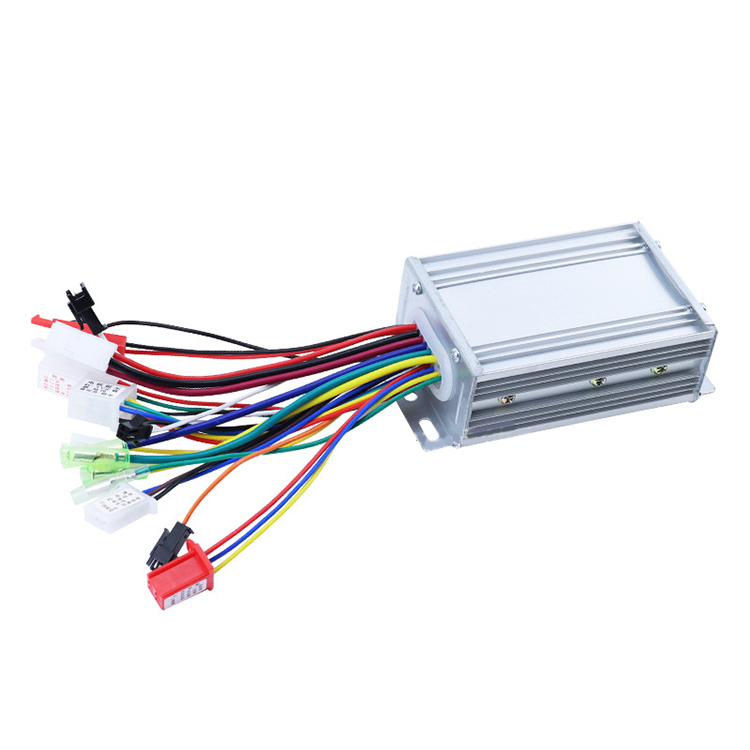
Installing a DC motor controller in an electric vehicle requires a structured approach, technical knowledge, and attention to safety. The controller is responsible for regulating power from the battery to the motor, adjusting voltage and current based on driving demands. The steps below offer a general guide to proper installation.
1. Assess Compatibility
Before starting, verify that the DC motor controller is compatible with the motor's voltage, current, and power ratings. Mismatches between the controller and motor can inefficiencies, overheating, or system failure. Many controllers are designed for specific motor types, such as brushed or brushless DC (BLDC) motors.
2. Choose a Suitable Mounting Location
The controller should be installed in a well-ventilated and protected area of the vehicle, typically near the motor or battery compartment. It should be mounted securely to avoid vibration damage, and accessible enough for inspection and maintenance.
3. Connect Power and Signal Wires
Connect the battery input wires to the controller's power terminals, ensuring polarity is correct. Then, connect the motor output wires—again confirming that the phase order (for brushless systems) aligns with manufacturer guidelines. Many DC motor controllers also require connections to a throttle input or pedal control, which sends variable signals to regulate speed.
4. Secure Ground and Safety Systems
A reliable ground connection is essential to prevent electrical faults. Additionally, include fuses or circuit breakers to protect the controller and other components from short circuits or overcurrent.
5. Test the System
Before full operation, perform a bench test using minimal load. Monitor motor response, controller temperature, and throttle function. If all systems function as intended, the controller can be integrated into the full vehicle drive loop.
Choosing the correct motor and controller pairing for an electric vehicle is one of the important decisions in EV design and conversion projects. A poorly matched system can result in poor efficiency, sluggish performance, or overheating, while a well-matched combination can optimize range, torque, and drivability.
Begin by identifying the vehicle's performance needs. Consider its weight, target top speed, desired acceleration, and typical driving conditions (e.g., urban traffic or hilly terrain). These factors help determine the required torque and horsepower, which in turn define the motor's voltage and current ratings.
Electric car motors typically come in brushed DC, brushless DC (BLDC), or AC induction varieties. For smaller or lower-speed applications, brushed motors may be sufficient, but BLDC motors are more common due to their high efficiency and lower maintenance. AC motors, while more complex, offer torque control and are often used in commercial EVs.
Once the motor is selected, choose a controller that can supply adequate voltage and current. Controllers must match the motor's electrical specifications and support its control method, such as sensored or sensorless operation. Over-specifying a controller may offer flexibility but could introduce unnecessary cost and complexity.
Ensure the battery pack can supply the necessary voltage and sustained current to support both the motor and controller. If the controller is rated for 72V but the battery only provides 48V, performance will be suboptimal. Check that all components are rated for the same voltage range.
Modern controllers often come with integrated regenerative braking, diagnostic tools, or programmable software interfaces. These features can enhance driving performance and simplify maintenance. Choosing a motor-controller pair that supports these features adds value to the vehicle system.


 Building 1 and 2, No. 2269, Jingzhong Road, Hongjia Street, Taizhou, Zhejiang, China
  +86-18857621312
  info@zinntu.com